I’ve long blogged about my love of setting up a nice terminal, getting the prompt just right, setting my colors, fonts, glyphs, and more. Here’s some of my posts.
- How to make a pretty prompt in Windows Terminal with Powerline, Nerd Fonts, Cascadia Code, WSL, and oh-my-posh
- Patching the new Cascadia Code to include Powerline Glyphs and other Nerd Fonts for the Windows Terminal
- What’s the difference between a console, a terminal, and a shell?
- Taking your PowerShell prompt to the next level with Windows Terminal and Oh my Posh 3
I want to take a moment to update my pretty prompt post with a little more detail and a more complex PowerShell $PROFILE, due to some changes in Oh My Posh, PowerShell, and the Windows Terminal. I doubt that this post is perfect and I’m sure there’s stuff here that is a little extra. But I like it, and this post will serve as my “setting up a new machine” post until I get around to writing a script to do all this for me in one line.
I love my prompt.
Let’s get you set up!
Get PowerShell
I don’t mean Windows PowerShell (that’s “classic” now) I mean the .NET Core-powered cross-platform PowerShell. There’s a LOT of ways to get it but I’m a Store person usually so I can get PowerShell (and it’ll auto update) from the Microsoft Store or just “winget install Microsoft.PowerShell” from the command line with winget.
Get Windows Terminal and set a default Shell
Get Windows Terminal if you don’t already have it, you can get Windows Terminal free from the Store. If you don’t have access to the Microsoft Store, the builds are published on the GitHub releases page. It comes with a lovely font called Cascadia Code…but…
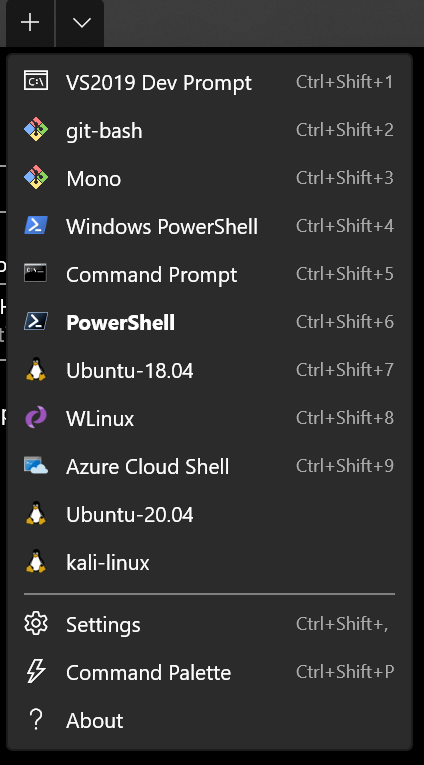
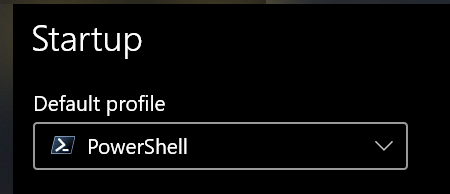
Now that you have Windows Terminal, you’ll notice that it knows that you have PowerShell installed and will add it to your Windows Terminal dropdown menu! You can set PowerShell as your default Profile – that’s the one you’ll get by default when you make a new Tab – in settings:
Upgrade your Terminal/Console Fonts
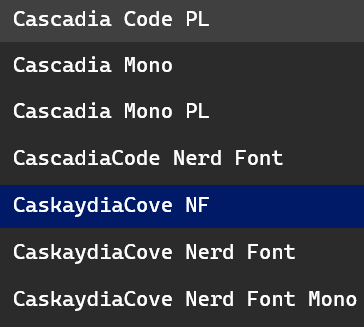
I like fonts with lots of Glyphs so I also download and Install Caskaydia Cove Nerd Font Complete. This is the same Cascadia Code font but MODIFIED to include hundreds of special characters that you can use to make your prompt cooler.
IMPORTANT NOTE: The string literal name of this font for use in settings or VS Code is “CaskaydiaCove NF”. If you’re using Cascadia Code, there are different strings for each. The NUMBER ONE question I get is ‘why don’t my glyphs/fonts show up right in Windows Terminal/VS Code?’ and the answer is almost always “you’re using the wrong font string.” It’s usually either an extra space or a missing space, so don’t be afraid to double check.
Remember that Windows Terminal has a lovely Settings UI but you can always click “open JSON file” to manage the settings.json as text if you prefer. Here’s mine. Yours will be different and you should customize it! The Windows Terminal documentation is fantastic. Again, see how PowerShell is in BOLD? That’s because it’s my default.
Now, let’s add a little…spice…
Add “Oh My Posh” to your Shell
Oh My Posh has amazing docs so check them out. Do note that some stuff has changed, especially from v2 to v3.
EXCITING NOTE: Oh My Posh is portable and works on any shell, so I use it on both my “Pwsh” (PowerShell) in Windows and my Bash shells on WSL running Ubuntu.
You can install Oh My Posh with with PowerShell’s “Install-Module” or with the platform-specific install instructions. I used the latter, which is somewhat new, but it’s tomato/tomato, so use what works for you.
Again, read the docs but the idea on Windows is basically this (or get it from GitHub):
winget install JanDeDobbeleer.OhMyPosh
# restart shell to reload PATH
Then edit $PROFILE and add the following line, remembering at this point that oh-my-posh is an executable on the PATH.
oh-my-posh --init --shell pwsh --config ~/jandedobbeleer.omp.json | Invoke-Expression
I have changed my Oh My Posh from Jan’s default to include my own stuff, and I keep my latest up in a GitHub Gist and also in my DropBox/OneDrive so it’s always syncing to all my machines. Mine is this, after I download from my gist.
oh-my-posh --init --shell pwsh --config D:/Dropbox/ohmyposhv3-2.json | Invoke-Expression
Yours will vary. Again, read the docs and experiment! Once added, reload your profile for the changes to take effect, or restart your shell.
. $PROFILE
That .json file is filled with “segments” that are documented on the Oh My Posh site in a lot of detail. Overwhelming detail. You can add your computer’s battery, your Azure Subscription, the dotnet or node version of your current folder, really anything. Even your Spotify songs. I’m going to make one that show my Blood Sugar.
Go explore Oh My Posh Themes and then modify them with your own additional Segments.
Again, note that your fonts will need the right glyphs or it will look weird.
Here’s a GOOD prompt:

Here’s a BAD prompt with an issue!

Why is it wrong? Either the .json file that is your config has been saved wrong or corrupted the Unicode Glyphs, or you’ve got a font that doesn’t have those glyphs.
Re-assert your Git segment in Oh My Posh
Some folks want full git info, status, added, modified, untracked, etc and others just want the current git branch. Check the Git segment and the Posh Git segment to make sure you are getting the performance AND information you need.
I needed to turn on “display_stash_count” and “display_upstream_icon” in my config json, like this:
{
"type": "git",
"style": "powerline",
"powerline_symbol": "",
"invert_powerline": false,
"foreground": "#193549",
"background": "#fffb38",
"leading_diamond": "",
"trailing_diamond": "",
"properties": {
"display_status": true,
"display_stash_count": true,
"display_upstream_icon": true
}
},
Again, this is all optional and affect performance slightly, but be aware of these properties. I believe I have these set the right way I want them in my public gist. Here is me moving around my source code with “z” in stead of cd, but note the prompt changes.

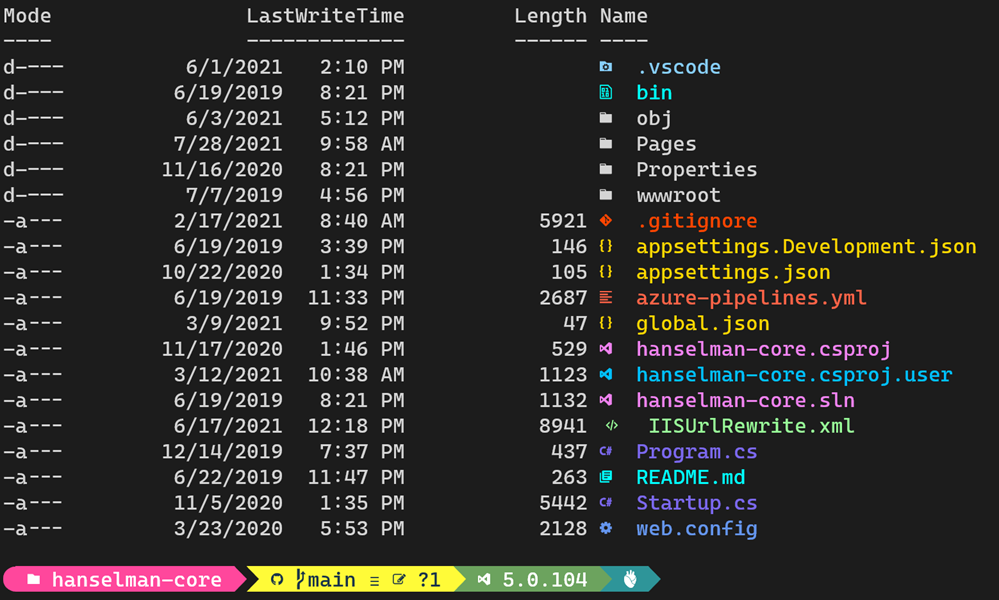
Turn your PowerShell directories up to 11 with Terminal-Icons
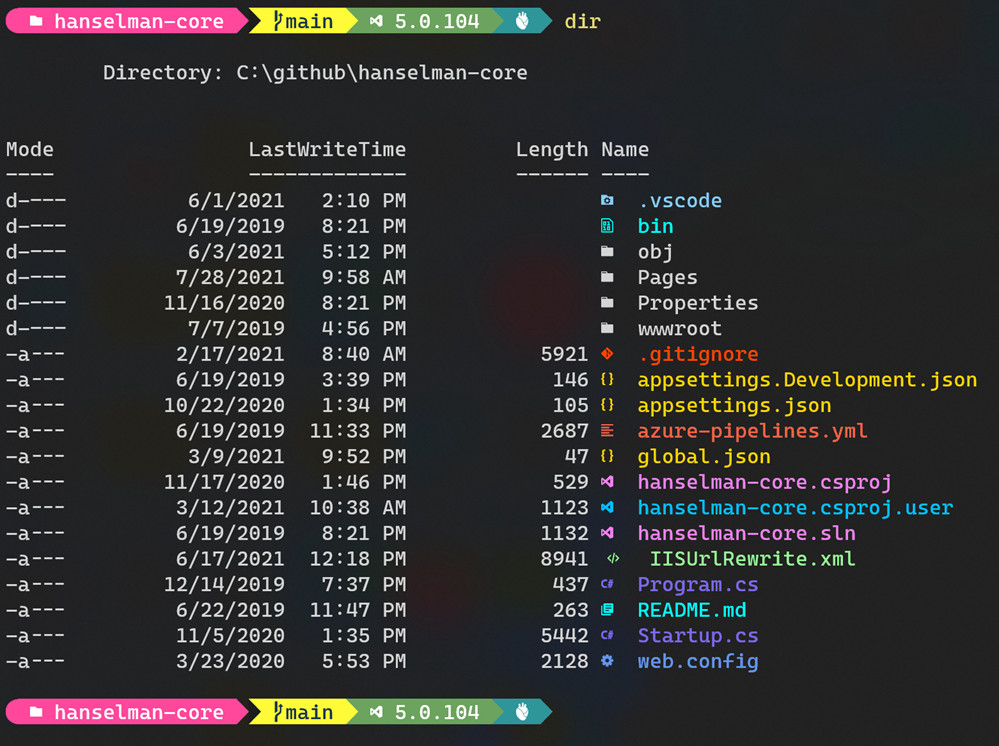
Is your prompt not extra enough? That’s because your directory listing needs color AND cool icons!
Install-Module -Name Terminal-Icons -Repository PSGallery
And then add one line to my $profile (edit with “code $profile”):
Import-Module -Name Terminal-Icons
Sweet!
How far is too far?
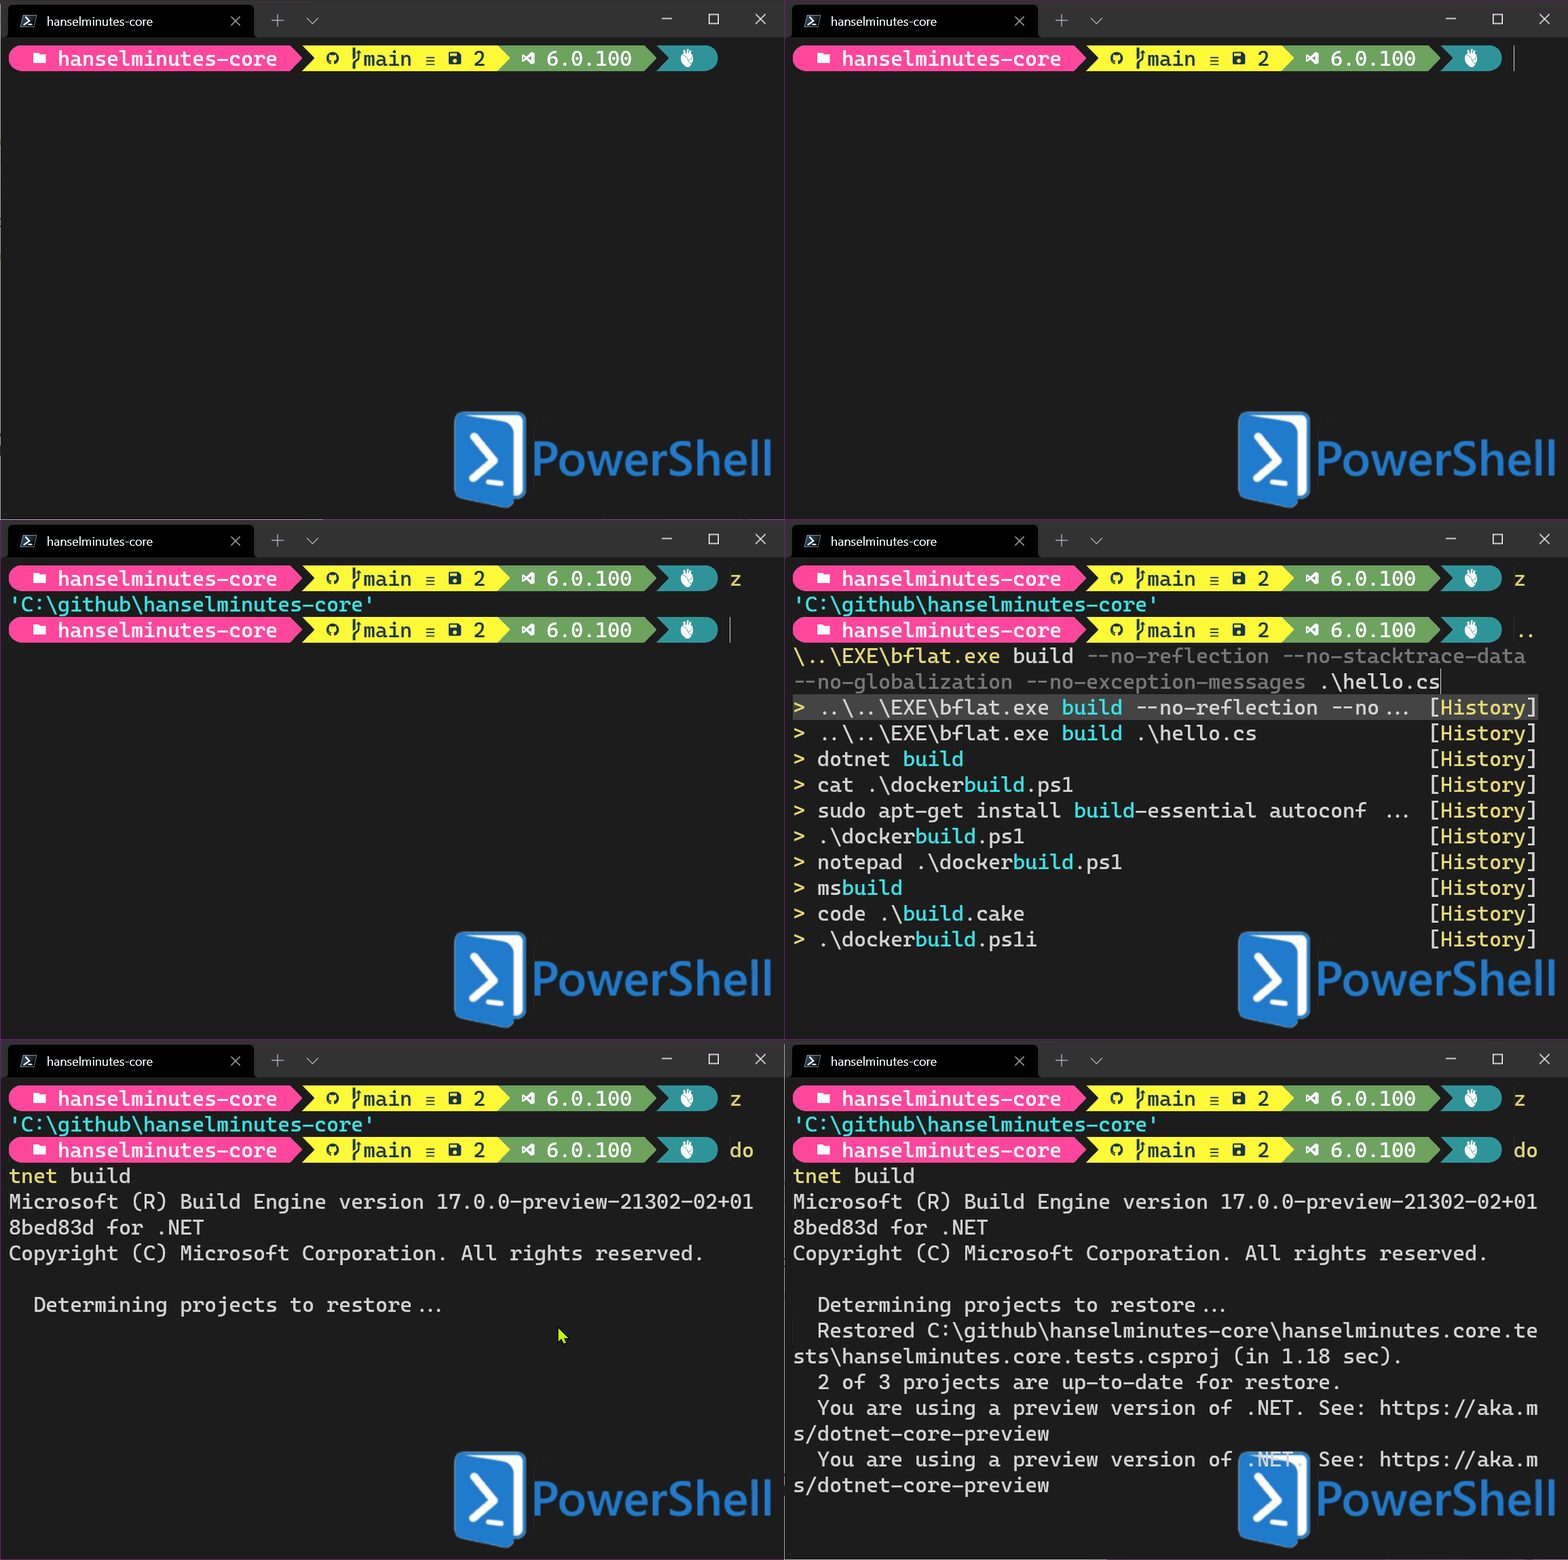
At this point you’re basically done, but I also LOVE PSReadLine. It’s great generally but also nice for bash and Emacs types who are moving to PowerShell or use PowerShell for work.
I’ve added features like “ctrl shift b” at the command line will run “dotnet build.” Why? Because I can and because it’s muscle memory so I’m making my prompt work for me.
You can also add Predictive Autocomplete to your prompt if you like but I’ll leave that as an exercise to the reader! My PowerShell profile is on a public gist, and while it’s not perfect and likely has issues, it works for me!
Enjoy! Thanks to the Windows Terminal Team and the always lovely Jan De Dobbeleer from Oh My Posh, as well as Brandon Olin from Terminal Icons.
Check out our Sponsor! YugabyteDB is a distributed SQL database designed for resilience and scale. It is 100% open source, PostgreSQL-compatible, enterprise-grade, and runs across all clouds. Sign up and get a free t-shirt!
© 2021 Scott Hanselman. All rights reserved.

